Updated on: May 29, 2025
A key aspect of building interactive, location-based applications is adding markers. A dynamic map is only helpful if you get rich, customized visual markers that guide clearly and simplify the navigation experience.
With Google Maps, the classic red pin has long been a staple. But then, using advanced markers opens up new possibilities to create visually engaging and highly functional map interactions.
Let’s find out ways to use advanced markers to make your Google Maps more simple to navigate and more informative. We’ll go through ways to customize markers, create interactive user experiences, and ultimately bring an advanced dynamic map to life.
How to Customizing the Classic Google Maps Pin
The red pin works only up to a point when using Google Maps for navigation and other purposes.
But when you have every marker that looks identical, then the map may look like a cluttered grid with little direction when planning multiple stops on Google Maps.
That’s why customizing markers can help you visually without them having to think twice. It is one way to even visually align with your brand or the specific needs of your users.
How to Customize Markers
There are four simple steps to follow for customizing Google Maps markers:
- Change Marker Icons
Replace the default icon with a custom image or SVG graphic. It can help represent different types of locations with unique visual cues for enhanced map readability. - Modify Marker Colors
Adjust colors to be able to categorize locations or highlight priority markers directly on the map interface. - Modify Marker Colors
Adjust colors to be able to categorize locations or highlight priority markers directly on the map interface. - Control Marker Size and Shape
Change the size and shape of map markers by making important locations stand out more prominently. This will help users quickly identify key points of interest. - Add Labels and Titles
Include text labels directly on or near the marker so that users can understand the importance of each location without needing to click on it.
Improving Marker Performance and Accessibility
A dynamic map handles many markers without affecting performance. Employing efficient marker management ensures that the map remains responsive and easy to use, even if it displays hundreds of locations.
Here’s what you can do.
Techniques to Optimize Marker Performance
Below are a few key techniques to add the map marker.
Use Marker Clustering
Group nearby markers into clusters when zoomed out. This reduces clutter and improves load time, especially when displaying hundreds of locations on a single screen.
Enable Lazy Loading
Load markers only within the user’s current map view. As they pan or zoom, new markers appear. This keeps the map responsive and lightweight, even with large datasets.
increase fuel savings
Save 2 Hours on Deliveries, Everyday!
Optimize routes with our algorithm, reducing travel time and costs efficiently.
Get Started for Free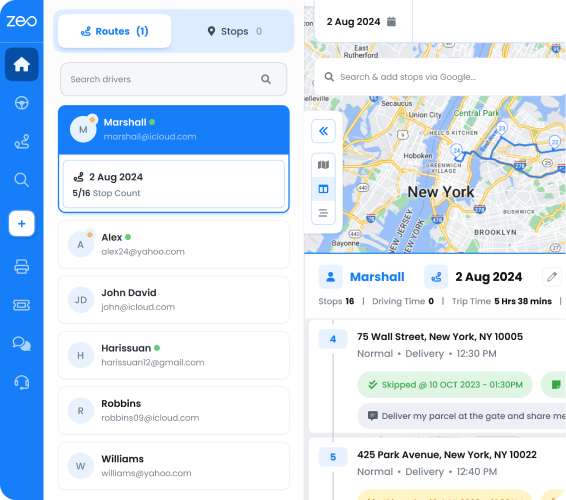
Optimize Marker Icons
Choose simple, lightweight image files for custom icons. Avoid large graphics or animations that may affect map speed or usability on slower devices.
Apply High-Contrast Visuals
Select contrasting colors and bold shapes to ensure markers are visible to users with visual impairments. This improves overall readability, especially in low-light or grayscale displays.
Add Descriptive Alt Text for Screen Readers
Each marker should include accessible text for screen readers. Describe what the marker represents clearly, such as “Pharmacy – Open 24 hours.”
Enhancing Accessibility
- High-Contrast Colors and Clear Shapes
Use distinct colors and simple shapes that remain visible under different lighting conditions and for users with visual impairments. - Keyboard Navigation and Screen Reader Support
Advanced markers should include descriptive titles and ARIA labels to ensure compatibility with assistive technologies. - Interactive Popups
Provide essential information through accessible popups or info windows that are easy to navigate and read.
Creating Interactive User Experiences with Markers
Markers are not just there for visual purposes; they act as interaction points within your advanced dynamic map. You can enable user engagement directly through markers as it turns a static map into a functional, interactive tool.
Add Interactive Marker Features
- Click and Hover Events
Assign specific actions to marker clicks or hovers.
Based on user interaction, display additional details, open info windows, or trigger navigation features. - Dynamic Marker Updates
Update marker icons or information in real-time based on external data sources. This is particularly useful for applications like delivery tracking or event mapping. - Marker Animation
Subtle animations such as bounce or fade effects draw attention to specific markers, guiding user focus without intruding. - Info Windows with Rich Content
Enhance markers with info windows that include formatted text, images, and links. This creates a richer experience and keeps users engaged directly on the map interface.
Final Thoughts
Advanced markers definitely add clarity to maps. But sometimes, your team may really need a faster way to plan and execute.
That’s where Zeo Route Planner comes in. You don’t need to spend time perfecting visual details. Instead, pivot to business activities that matter, such as creating efficient routes and managing deliveries with less effort.
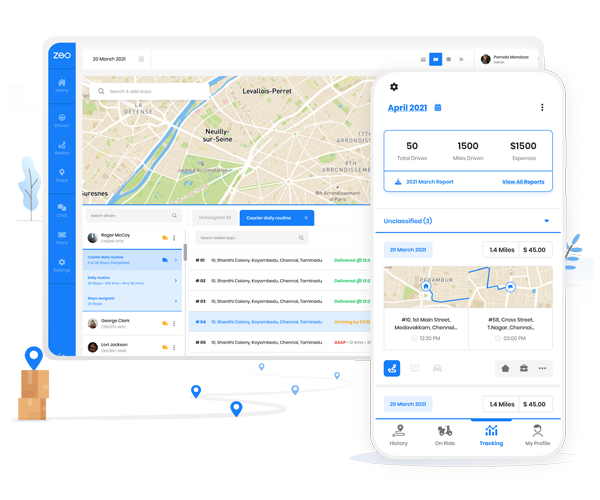
There are features like built-in address autocomplete and easy-to-use route planning tools that Zeo provides. Use it to organize and optimize without any complicated setups.
If you’re ready to create smarter, more intuitive maps, explore what Zeo can do for your business.
Book a demo and experience the difference firsthand.
Are you a fleet owner?
Want to manage your drivers and deliveries easily?
Grow your business effortlessly with Zeo Routes Planner – optimize routes and manage multiple drivers with ease.

increase fuel savings
Save $200 on fuel, Monthly!
Optimize routes with our algorithm, reducing travel time and costs efficiently.
Get Started for Free