How to enable Proof of Delivery in the Zeo Route Planner

How to enable Proof of Delivery in the Zeo Route Planner, Zeo Route Planner
Reading Time: 4 minutes

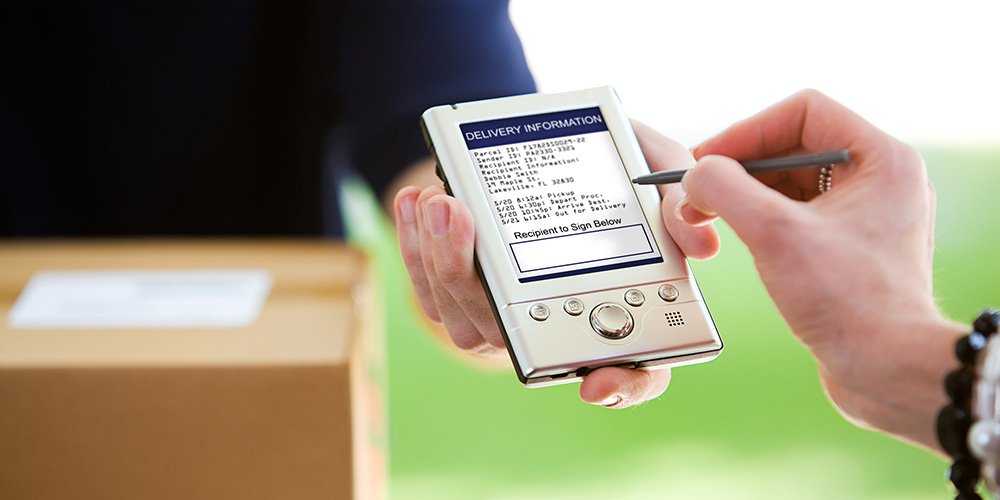
If you are into the logistics business, then Proof of Delivery becomes a crucial part of the whole delivery system. POD is a significant part of the delivery process as it establishes that the package has been delivered to the customer and acts like a receipt that proves that the delivery has been made.

Proof of Delivery consists of a written acknowledgment of having received the order of a specific amount of money on a specific date and time, the name of the person who has received the product, and other shipping details. They are basically an official document where the customer confirms the receipt of the order or parcel.

Good communication is essential for the success of the business. And in the logistics industry, customers expect to know where their orders are. With emerging technologies and innovations, we at Zeo Route tried to enhance the old methodology of the PODs. We came up with the E-PODs or the Electronic Proof of Delivery in our app. An E-POD is a digital format of a traditional paper delivery order or delivery note. They present an efficient, modern approach to distribution that allows transport companies to provide better customer service throughout the delivery process.

Steps to enable Proof of Delivery in Zeo Route Planner

Just follow these simple steps to enable the Proof of Delivery in the Zeo Route Planner App

  • Open the Zeo Route Planner App and head towards the My Profile section.
  • Then press on the Settings tab to open the list of Preferences.
How to enable Proof of Delivery in the Zeo Route Planner, Zeo Route Planner
Opening the settings in the Zeo Route Planner
  • Then press on the Proof of delivery tab. A popup will show up.
  • Press the Enable option and then press the Save button.
How to enable Proof of Delivery in the Zeo Route Planner, Zeo Route Planner
Enabling the Proof of Delivery in the Zeo Route Planner App
  • Now head to the My Routes section and press on Add New Route, and start importing all the addresses. Zeo Route Planner lets you import the address through the spreadsheet, Bar/QR code, image capture, and manual typing. After adding your addresses, press the Save and Optimize button to optimize all the routes.
  • Now you can start the delivery process by pressing the Navigation button. After reaching your destination, press the Done button.
How to enable Proof of Delivery in the Zeo Route Planner, Zeo Route Planner
Starting the navigation in the Zeo Route Planner App
  • As soon as you press the Done button, you will get a popup showing you two options, Validate over Signature and Validate over Photograph.
How to enable Proof of Delivery in the Zeo Route Planner, Zeo Route Planner
Choosing the Proof of Delivery in the Zeo Route Planner App
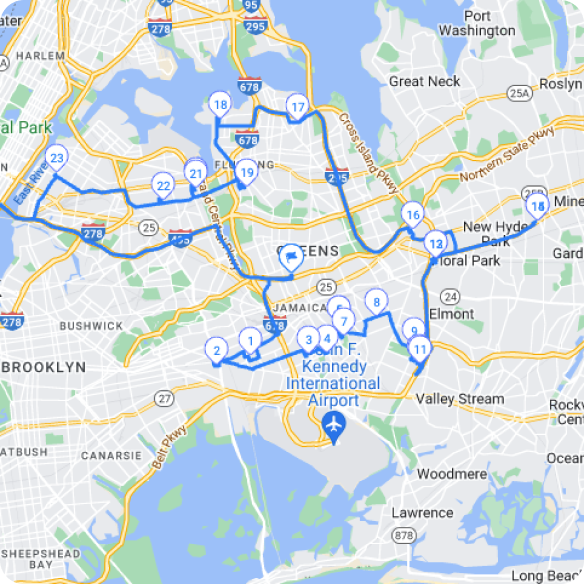
  • If you choose the Validate over Signature option, a new popup will open up with a blank space where you can capture the customer’s signature. You can tell the customer to use their fingers as a stylus and sign on to that blank space; after taking the signature, press on Mark as Completed to complete the delivery.
  • You can also use the Clear button to clear the blank space if the signature is not appropriate.
How to enable Proof of Delivery in the Zeo Route Planner, Zeo Route Planner
Using signature capture for Proof of Delivery in Zeo Route Planner
  • If you choose the Validate over Photograph option, then your camera will open up, and you can take the package’s image. After taking the package photograph, you can press the Mark as Complete button to finish the delivery process.
How to enable Proof of Delivery in the Zeo Route Planner, Zeo Route Planner
Using photograph capture for Proof of Delivery in Zeo Route Planner
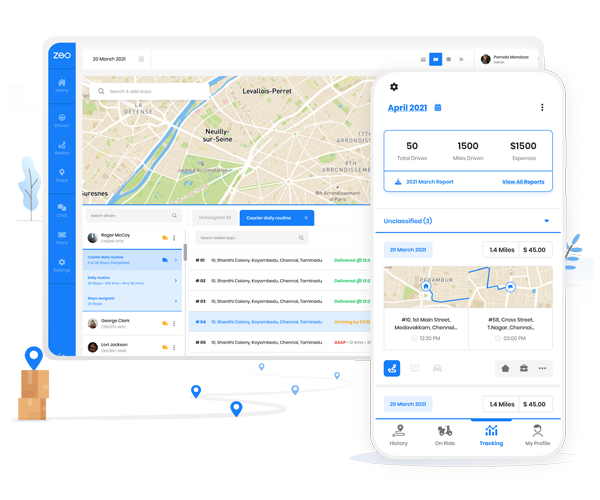
  • If at any point if you want to see the Proof of Delivery for a particular stop, press the Show button on the On-Ride section. You will see the list of completed addresses.
  • Press on the Tick icon, which you can see before the address.
  • As soon as you press on the Tick icon, you will see the Proof of Delivery you have taken in the delivery process.
How to enable Proof of Delivery in the Zeo Route Planner, Zeo Route Planner
Checking the Proof of Delivery in the Zeo Route Planner App

Still need help?

Contact us by writing to our team at support@zeoauto.com, and our team will reach out to you.

In This Article

Leave a Reply

Your email address will not be published. Required fields are marked *

Join our newsletter

Get our latest updates, expert articles, guides and much more in your inbox!

    By subscribing, you agree to receive emails from Zeo and to our privacy policy.

    Zeo Blogs

    Explore our blog for insightful articles, expert advice, and inspiring content that keeps you informed.

    Route Management With Zeo Route Planner 1, Zeo Route Planner

    Achieving Peak Performance in Distribution with Route Optimization

    Reading Time: 4 minutes Navigating the complex world of distribution is an ongoing challenge. With the goal being dynamic and ever-shifting, achieving peak performance

    Best Practices in Fleet Management: Maximizing Efficiency with Route Planning

    Reading Time: 3 minutes Efficient fleet management is the backbone of successful logistics operations. In an era where timely deliveries and cost-effectiveness are paramount,

    Navigating the Future: Trends in Fleet Route Optimization

    Reading Time: 4 minutes In the ever-evolving landscape of fleet management, the integration of cutting-edge technologies has become pivotal to staying ahead of the

    Zeo Questionnaire

    Frequently
    Asked
    Questions

    Read More FAQ’s

    How to Create Route?

    How do I add stop by typing and searching? Web

    Follow these steps to add a stop by typing and searching:

    • Go to Playground Page. You will find a search box in top left.
    • Type in your desired stop and it will show search results as you type.
    • Select one of the search results to add the stop to list of unassigned stops.

    How do I import stops in bulk from an excel file? Web

    Follow these steps to add stops in bulk using an excel file:

    • Go to Playground Page.
    • In top right corner you will see import icon. Press on that icon & a modal will open.
    • If you already have an excel file, press the “Upload stops via flat file” button & a new window will open up.
    • If you don’t have an existing file, you can download a sample file and input all your data accordingly, then upload it.
    • In the new window, upload your file and match the headers & confirm mappings.
    • Review your confirmed data and add the stop.

    How do I import stops from an image? Mobile

    Follow these steps to add stops in bulk by uploading an image:

    • Go to Zeo Route Planner App and open On Ride page.
    • Bottom bar has 3 icons in left. Press on image icon.
    • Select the image from gallery if you already have one or take a picture if you don’t have existing.
    • Adjust the crop for the selected image & press crop.
    • Zeo will automatically detect the addresses from the image. Press on done and then save & optimize to create route.

    How do I add a stop using Latitude and Longitude? Mobile

    Follow these steps to add stop if you have Latitude & Longitude of the address:

    • Go to Zeo Route Planner App and open On Ride page.
    • You will see a icon. Press on that icon & press on New Route.
    • If you already have an excel file, press the “Upload stops via flat file” button & a new window will open up.
    • Below search bar, select the “by lat long” option and then enter the latitude and longitude in the search bar.
    • You will see results in the search, select one of them.
    • Select additional options according to your need & click on “Done adding stops”.

    How do I add a using a QR Code? Mobile

    Follow these steps to add stop using QR Code:

    • Go to Zeo Route Planner App and open On Ride page.
    • You will see a icon. Press on that icon & press on New Route.
    • Bottom bar has 3 icons in left. Press on QR code icon.
    • It will open up a QR Code scanner. You can scan normal QR code as well as FedEx QR code and it will automatically detect address.
    • Add the stop to route with any additional options.

    How do I delete a stop? Mobile

    Follow these steps to delete a stop:

    • Go to Zeo Route Planner App and open On Ride page.
    • You will see a icon. Press on that icon & press on New Route.
    • Add some stops using any of the methods & click on save & optimize.
    • From the list of stops that you have, long press on any stop that you want to delete.
    • It will open window asking you to select the stops that you want to remove. Click on Remove button and it will delete the stop from your route.