Updated on: April 14, 2025
Google Maps Route Navigation : #PowerItWithZEO
As a fleet is inefficient without its drivers, the same way, a route planner is incomplete without the feature to provide Navigation of routes.
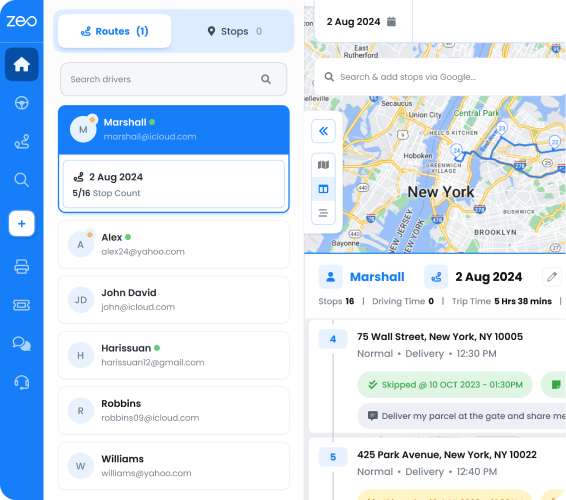
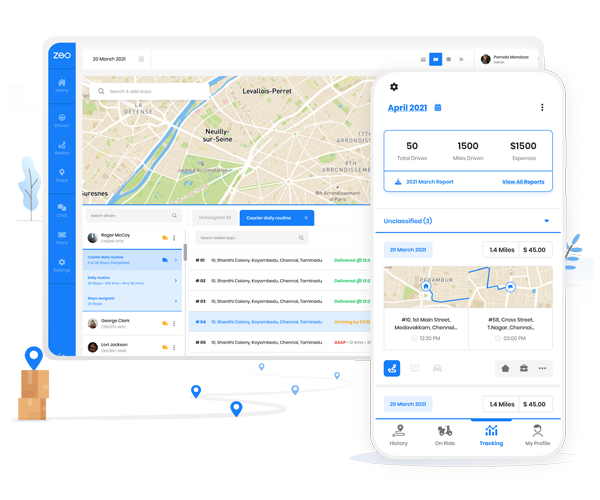
Zeo Route planner brings to you, the feature to view and navigate the in-app formed routes onto Google Map, at your fingertips.
Google Maps has limited use for route optimization. When you need to add a large number of stops, it is when ZEO comes in place.So you’ll find out how ZEO Route Planner will optimise your multiple stops/route and connect you directly to google maps for the navigation of those stops.
The voice-assisted navigation in google maps along with the viewable navigation overlay feature of Zeo, make the deliveries / pickups much faster and thus reduces the fuel costs of more than 10,000 drivers.
How to navigate in google map?
Set Google Map as your default navigation app:
- #1. Open Zeo “Route Planner” App
- #2. Go to “My Profile”
- #3. Next, go to “Preferences”
- #4. Select “Navigation Preferences”
- #5. Select “Navigation in”
- #6. From the list of available navigation apps, select Google Map.
- #7. Save Changes
Sit back and relax, while Zeo plans your route:
- #1. Go to the “On Ride” Section.
- #2. If it’s your first route: Option to add stops will appear right away.
- #3. Else, click on the “Plus Button”.
- #4. Select the “New Route” Option
- #5. Select any of the available options among import through excel, import through image, import through barcodes, manual search and voice search to add your stops and required details for respective stops.
- #6. Done adding stops
- #7. Create and Optimise Route
Where the magic happens..
#1. When you are ready to take the ride: Select “Start my trip”
#2. Click on the “Navigate” Button for the 1st stop.
Now, this will take you to Google Maps and will start the navigation of the first stop. On the “Navigation Overlay”, you can click on “Success” as that stop location arrives.
If the “Proof of Delivery” is enabled: clicking on the “Success” button, will take you to the “On Ride” section of the app and will raise a pop-up to add a signature or an image, to verify the done delivery.

increase fuel savings
Save $200 on fuel, Monthly!
Optimize routes with our algorithm, reducing travel time and costs efficiently.
Get Started for Free
Otherwise, it will remain on the Google Maps and start navigating the 2nd stop and then the rest stops, following the optimization order, until the route is completed.
A bar with the name “Exit Navigation”, will also pop up on Google Maps, if you want to exit the navigation before you arrive at your current stop destination.
Zeo provides:
Other important dependencies for the best navigation results in Google Map:
- #1. Navigation Overlay
- #2. Avoid (Feature to avoid tunnels, highways, trunk, bridges, ford, ferry)
- #3. Proof of Delivery
- #4. Side of the road
- #5. Vehicle Type
- These all features can be found in the app by My Profile—>Preferences.
Offline Navigation with Google Maps:
- #1. First download the location of the city/state, where you want to make pickups/deliveries in Offline Maps in Google Map Settings.
- #2. Go to the Zeo Route Planner app, plan the route, and switch off the mobile network/Wi-Fi.
- #3. Select “Start my trip” on the On Ride section and then click on the “Navigate” Button.
- #4. This action will take you to Google Maps and will navigate you efficiently to every stop as it does in the online mode.
This will save your data, and battery power along with automating your last-mile delivery, with less fuel consumption, under lesser time and distance.
Happy Routing!

Are you a fleet owner?
Want to manage your drivers and deliveries easily?
Grow your business effortlessly with Zeo Routes Planner – optimize routes and manage multiple drivers with ease.

increase fuel savings
Save 2 Hours on Deliveries, Everyday!
Optimize routes with our algorithm, reducing travel time and costs efficiently.
Get Started for Free


