

Updated on: May 16, 2026
Reading Time: 4 minutes
TL;DR: Amazon Relay connects freight carriers with Amazon’s shipping network through a load board where drivers can book deliveries, track performance metrics, and receive weekly payments. As of 2026, drivers earn between $1.21 and $3.09 per mile with opportunities for dedicated contracts based on performance. Route optimization tools like Zeo Route Planner address delivery efficiency challenges with AI-powered route optimization, helping freight teams save 2+ hours daily.
For freight carriers, staying competitive in an increasingly busy logistics industry can be a challenge. With the constant need to find reliable work, minimize downtime, and optimize operations, it can feel like a constant juggling act.
To overcome these challenges and still achieve the desired delivery efficiency, drivers need a solution to simplify the entire process of finding freight and streamlining deliveries to ensure a steady source of income. This is where Amazon Relay comes in as the perfect answer!
Right from industry newbies to experienced drivers, Amazon Relay offers one of the largest freight networks to everyone willing to put in the effort. And to top it off, the user-friendly platform eliminates the hassle for you.
So, why wait? Let’s walk you through the ABCs of Amazon Relay!
In simple terms, Amazon Relay is Amazon’s freight logistics solution. This solution offers a platform that connects Amazon’s expansive shipping network with trucking companies and individual drivers. Through this platform, carriers and truck drivers can monitor the demands and accept delivery orders aligning with their schedules and resources.
To make the delivery management process easier for drivers, Amazon Relay also offers a user-friendly mobile app. Through this app, drivers get access to navigation support throughout the delivery along with automated check-ins.
To make it more fruitful for drivers, the platform offers you insights into performance metrics that will help you ace your deliveries and be among the top performers for Amazon Relay.
How Amazon Relay Works?
Now that we know what is Amazon Relay, let’s understand how it works. Here is a simple breakdown of the process:
- Register On Amazon Relay
Like any other platform, the first step for freight carriers and owners is to sign up. While signing up on Amazon Relay, keep your valid DOT and MC numbers handy along with vehicle insurance details. - Book Loads via the Load Board
Upon approval, you will get access to Amazon’s load board. This board is your one-view dashboard for all the delivery jobs available along with the location and requirements. - Pick Up and Deliver Freight
Once you book a load from the load board, you will get all the details necessary for successful delivery through the Amazon Relay app. - Track Performance Metrics
Amazon Relay wants you to prosper. To make this happen, it monitors key metrics that define delivery efficiency. These metrics provide insights into top performers, who are then rewarded with high-priority delivery loads. - Receive Payment
Once you’ve done all the work and completed the deliveries, Amazon Relay promptly completes your payments on a weekly basis.
What’s the Eligibility Criteria You Must Meet?
Amazon Relay is quite particular about the quality and skills of the drivers it onboards as it will directly reflect on its brand. Here’s what you must have to successfully become an Amazon Relay Driver.
- DOT and MC Numbers: A valid Department of Transportation (DOT) number and an active Motor Carrier (MC) number are essential.
- Insurance Coverage you’ll need:
- Commercial general liability insurance of $1,000,000.
- Auto liability insurance of $1,000,000.
- Cargo insurance of $100,000.
- Workers’ compensation insurance (if applicable).
- Equipment: At least one commercial vehicle, such as a box truck or semi-truck, is required. The size requirement for the Amazon Relay box truck is as follows:
Tractor: Day cab, Sleeper cab, Box Truck.
Trailer: Reefer, 53′ Dry van, 28′ Trailer. - Safety Standards: Amazon expects carriers to meet strict safety and compliance standards, which are essential for maintaining access to the platform. HOS compliance to adhere to commercial driving hours. Federal Motor Carrier Safety Administration (FMCSA) safety rating is required.
How Much Will You Earn Through Amazon Relay?
The most important question of all – How much will you earn through Amazon Relay?
Driver income is a crucial aspect of Amazon Relay for obvious reasons. While it is completely dependent on various factors – loads, distance of delivery destination, time of delivery, region, and urgency.
increase fuel savings
Save 2 Hours on Deliveries, Everyday!
Optimize routes with our algorithm, reducing travel time and costs efficiently.
Get Started for Free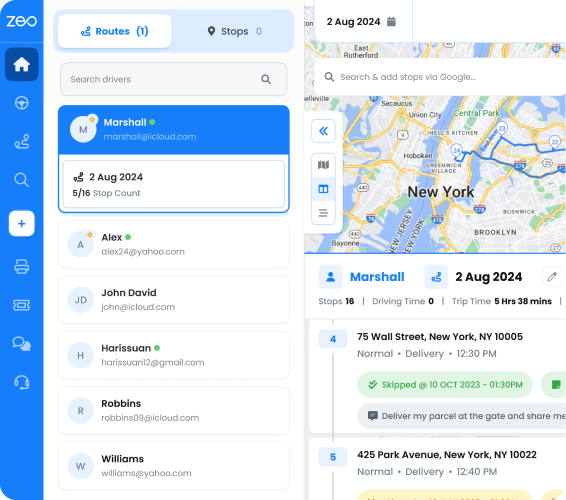
Here’s a general breakdown of how much you can typically earn through Amazon Relay as of 2026:
- Per Mile Rates: Drivers can expect to earn between $1.21 and $3.09 per mile, with higher rates often seen on longer routes or high-demand lanes.
- Short-Haul Opportunities: Completing multiple short-haul routes in a day can lead to substantial daily earnings.
- Dedicated Contracts: Carriers with strong performance metrics can secure dedicated contracts, which offer predictable schedules and consistent income.
Step-by-Step Guide to Join Amazon Relay
Ready to join Amazon Relay? Follow these steps to get started:
- Prepare Your Documents
Make sure you have your DOT and MC numbers, insurance details, and vehicle information ready. Being organized will speed up the registration process. - Register on Amazon Relay
Visit the Amazon Relay website and complete the registration form. Provide accurate business information and upload all required documentation. - Complete Onboarding
Once approved, complete the onboarding process by setting up your profile and reviewing Amazon’s guidelines. This step ensures you’re fully prepared to start booking loads. - Explore the Load Board
Use the load board to find and book freight that suits your schedule and equipment. Filters allow you to customize your search, making it easier to find ideal opportunities. - Download the Relay App
The Amazon Relay app is your go-to tool for managing deliveries. Use it for navigation, check-ins, and real-time updates to streamline your workflow.
Conclusion
If you are keen to improve your trucking business and boost your income, Amazon Relay can provide you the best platform and support. All you have to do is be consistent, be proficient, and be reliable.
While Amazon Relay will offer a steady stream of loads and delivery requirements along with efficient tools for streamlining the delivery process, you would want to empower yourself with robust route planners.
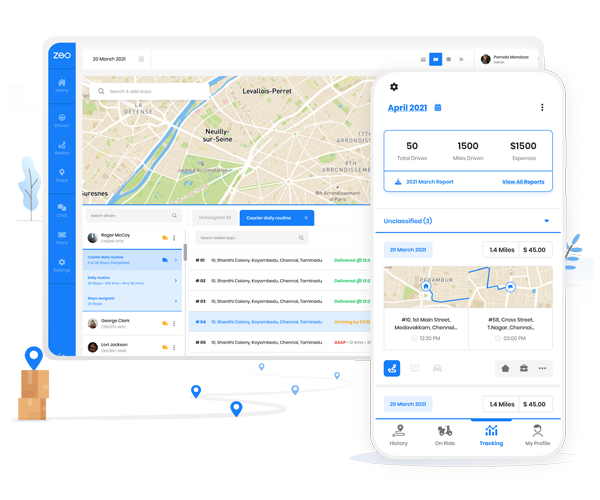
Smart use of route planners like Zeo will give you that competitive edge to take your delivery process a notch higher and enhance your customer experience.
With the right delivery strategies, supported by Zeo Route Planner’s routing capabilities, you can unlock the full potential of Amazon Relay and boost your income with confidence. For businesses managing complex multi-stop deliveries, choosing the right route optimization solution becomes even more critical for maintaining competitive advantage.
Frequently Asked Questions
What documents do I need before applying to Amazon Relay?
You need a valid DOT number, active MC number, and comprehensive insurance coverage including $1M commercial general liability, $1M auto liability, and $100K cargo insurance. Additionally, workers’ compensation insurance may be required depending on your business structure.
How often does Amazon Relay pay its carriers?
Amazon Relay processes payments weekly for completed deliveries. This regular payment schedule helps carriers maintain consistent cash flow and plan their business operations more effectively.
Can owner-operators with box trucks work with Amazon Relay?
Yes, Amazon Relay accepts various commercial vehicles including box trucks, day cabs, sleeper cabs, and trailers (reefer, 53′ dry van, 28′ trailer). As long as you meet the safety standards and insurance requirements, box truck operators are welcome on the platform.
What factors affect earnings on Amazon Relay?
Earnings depend on multiple factors including route distance, delivery urgency, regional demand, load type, and your performance metrics. High-performing carriers often gain access to dedicated contracts with predictable schedules and premium rates.
How can freight carriers optimize their Amazon Relay routes for maximum efficiency?
Advanced route optimization tools help carriers maximize their daily productivity by reducing drive time between pickups and deliveries. Professional routing software with features like real-time GPS tracking and capacity-based routing saves carriers 2+ hours daily, allowing them to take on more Amazon Relay loads and increase overall income.
Are you a fleet owner?
Want to manage your drivers and deliveries easily?
Grow your business effortlessly with Zeo Routes Planner – optimize routes and manage multiple drivers with ease.

increase fuel savings
Save $200 on fuel, Monthly!
Optimize routes with our algorithm, reducing travel time and costs efficiently.
Get Started for Free